For an introduction about how to use it, you may prefer to have a look at the tutorials first. To learn more about TravelTime and to discuss commercial licences visit our website.
This plugin works on QGIS version 3.0 or higher.
The plugin can be installed using the QGIS plugin manager. Choose Manage and install plugins from the Plugin menu.
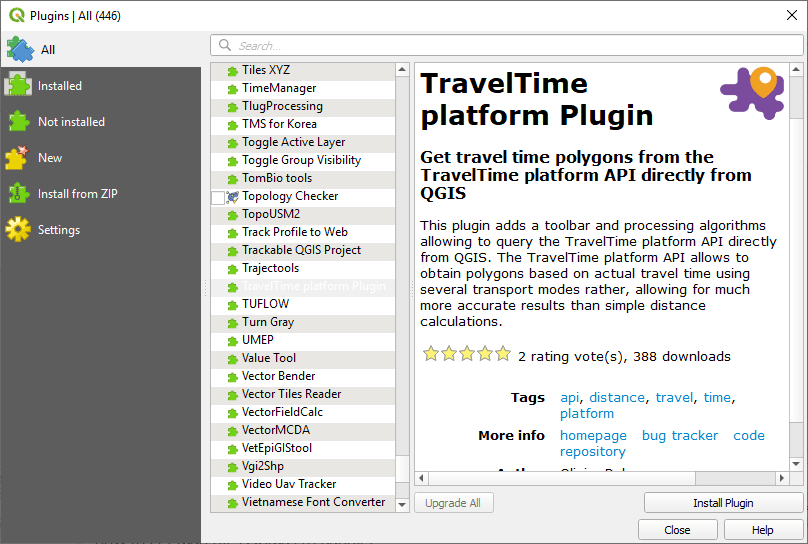
In the plugin manager window, make sure you are on the All tab, and search for TravelTime. The plugin will appear in the list. Select it in the list, and click on install.
If an update is available, you will get notified from the main QGIS window. The plugin can be upgraded or uninstalled from the plugin manager window.
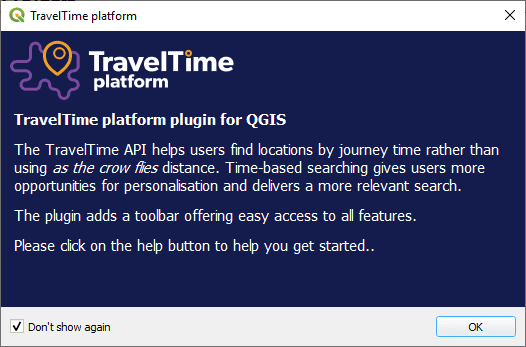
After installation and on QGIS start, the plugin will show a splash screen. You can prevent it from showing again by checking the don't show again checkbox.
![]()
By default, the toolbar appears at the top of the window. You can drag and drop it to move it elsewhere, or completely toggle its visibility by right-clicking on an empty space of the user interface and by (un)checking “TravelTime toolbar”.


The same actions are also available from the plugin menu.
At some point, you will hit the API limit, which will cause some queries to fail.
An API limit error when running a map tool
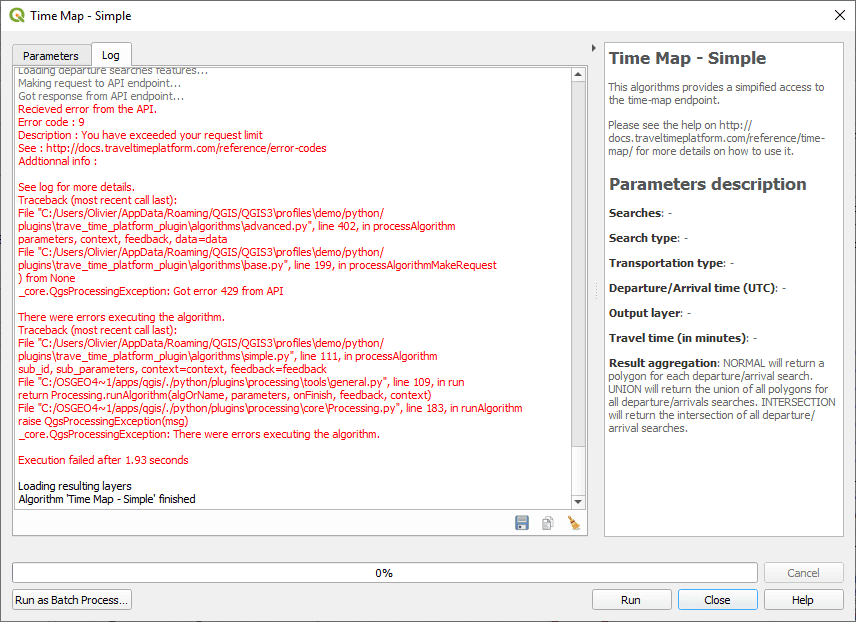
An API limit error when running an algorithm
Each API key has a quota of queries that can be done. Currently, for free keys, this is around 10 searches / minute. Once this quota is reached, all subsequent queries fail for the cooldown period.
All successful queries are saved in a cache file on your computer. This means that after the cooldown period, you can rerun your algorithm, and it will only make calls to the API for the new queries, so that you can finish running your algorithm event if it failed before.
Re-opens the algorithm dialog with the same settings. To use this tool, you need to select a layer that was created from one of the algorithms in the legend.
This feature is very useful to tweak your queries without having to reset all parameters manually.
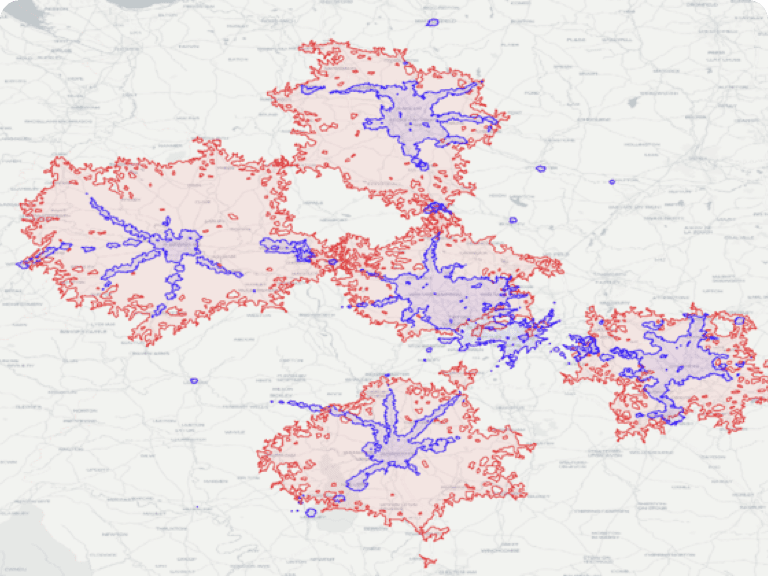
This runs the quick time map tool. In the background, the advanced time map algorithm will be run. This algorithm returns a polygon layer representing the area that can be reached from one point, or the area from which a point can be reached.
Usage : click the action, then click somewhere on the map canvas to create a time map. A new layer will be added to the project with the time time. That layer is a “temporary layer”. If you need to save it, right click on it in the legend, and choose Make permanent.
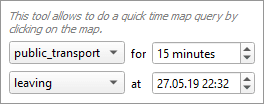
Configuration: click on the small arrow, then configure using the following widget. The time parameter uses your system local time, so you need to manually convert the time if you are working in different time zone.
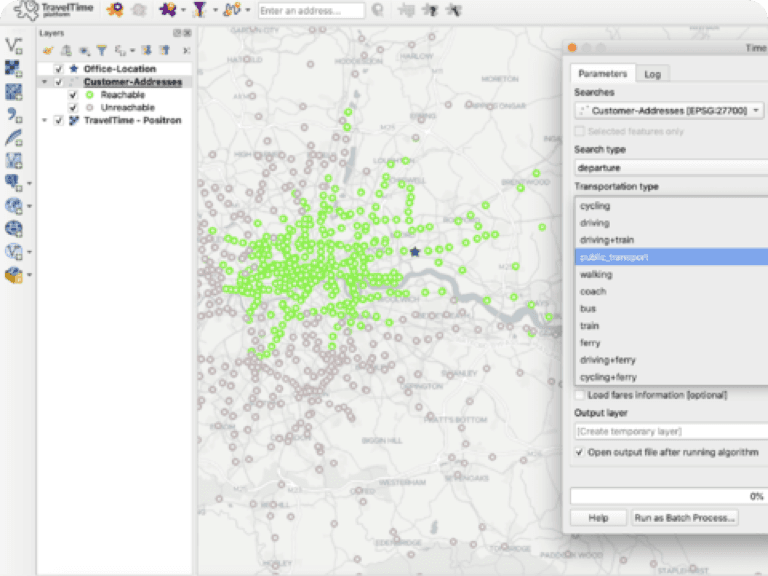
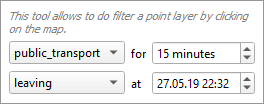
This runs the quick time filter tool. In the background, the advanced time filter algorithm will be run. This algorithm allows to filter a point layer according to a time map search.
Usage: first, select a point layer in the legend, then click the action, then click somewhere on the map canvas to create a time map. A new layer will be added to the project with the reachable and unreachable points. That layer is a “temporary layer”. If you need to save it, right click on it in the legend, and choose Make permanent.
Configuration: click on the small arrow, then configure using the following widget. The time parameter uses your system local time, so you need to manually convert the time if you are working in different time zone.
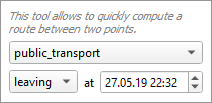
This runs the quick route tool. In the background, the advanced route algorithm will be run. This algorithm allows to compute the best route between points.
Usage: click the action, then click somewhere on the map canvas to define the starting point, and click again to define the destination point. A new layer will be added to the project containing the route. That layer is a “temporary layer”. If you need to save it, right click on it in the legend, and choose Make permanent.
Configuration: click on the small arrow, then configure using the following widget. The time parameter uses your system local time, so you need to manually convert the time if you are working in different time zone.
This runs the geoclick tool.
Usage : with any map tool enabled, enter an address in the input field next to the button, then click on the button. This will simulate a mouse click on the map at the address that you entered. It can be used with any map tool, including the quick tools.
In the background, the geocoding algorithm will be run.
![]()
The main settings dialog can be open using the 
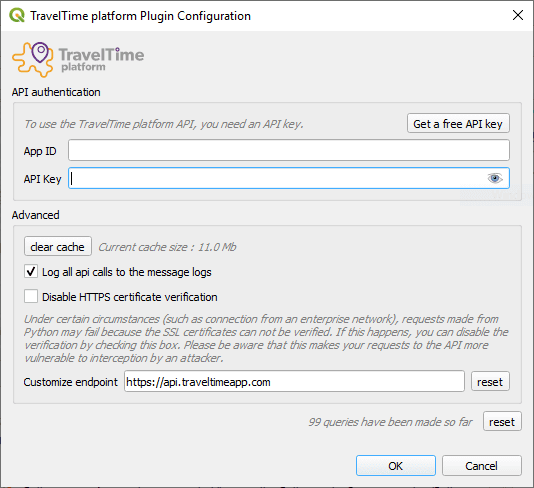
App ID and API Key : enter your App ID and API Key here. You need to do this step to be able to use the TravelTime web service. You can get the ID and the Key by email by clicking on the Get a free API key button and filling out the web form.
Clear cache : this button allows to clear the request cache. All requests are saved to a cache file, to avoid the need of hitting the API if an identical request was already made. By clearing the cache, all saved queries will be deleted. This shouldn’t be necessary unless you have a very high usage of the application and the cache file gets too big.
Log API calls to the message logs : this settings makes the plugin log all requests and responses to the QGIS Message Log, allowing to inspect what’s happening in case you encounter errors.
Disable HTTPS certificate verification : under certain circumstances (such as connection from an enterprise network), requests made from Python may fail because the SSL certificates can not be verified. If this happens, you can disable the verification by checking this box. Please be aware that this makes your requests to the API more vulnerable to interception by an attacker.
Customize endpoint : if you are not using the default TravelTime API endpoint, you can customize it here.
The online help dialog can be open using the 
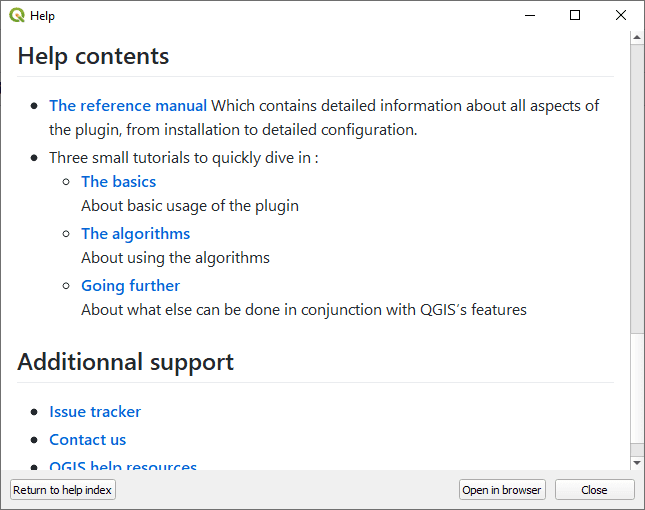
This dialog shows the online help directly in QGIS.
Return to help index : returns to the home page of the online help in case you got lost.
Open in browser : opens your browser at the same page, which may be more comfortable to browse the documentation.
The background tiles icon 
Depending on your API key capabilities, it will automatically add additional XYZ layers that you can use as background.
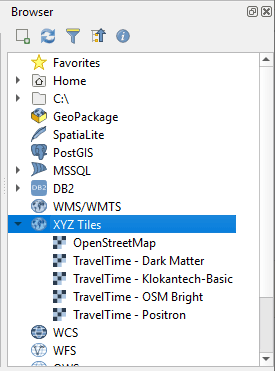
If your API key doesn’t provide this capability, you will get a message providing instructions on how to get access to those tiles.
![]()
In any case, you’ll be able to add the default XYZ layer configured by default by QGIS.
The processing toolbox can be open using the 
open toolbox action is that the list of actions will be prefiltered to show only TravelTime relative algorithms.
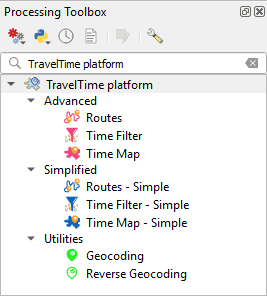
Similarly to all other QGIS algorithms, all those algorithms can be run normally by double-clicking them or in batch mode by right-clicking them.
Algorithms regrouped under the Simple group provide simplified access to the advanced algorithms, but just call the advanced algorithms in the background. They cover most use cases and it is recommended to start with those before using the Advanced ones.


Algorithms regrouped under the Advanced group provide access to the API endpoints. Since they have a lot of options, they are only recommended for advanced users that require to fine tune parameters that are not configurable in the simplified versions.


Algorithms regrouped under the Utilities group provide access to the Geocoding (assigning a point to a textual address) or Reverse geocoding (assigning a textual address to a point). algorithms.


Unfortunately, it may happen that you encounter some issues. This section may help address some of the most common issues.
Have a close look at the first few lines in red of the output, and see if you some corresponding help here.
This means that the plugin could not connect to the webservice. Make sure you are online and that your connection works properly. If the error persists, please contact us as it may be due to some issue with the web service.
Before using the TravelTime plugin, you need to get and configure an API key. Please refer to the configuration dialog section about how to get and configure an API key.
This means the algorithm got stopped because you reached you API quote. Please refer to the API limit section that explains the issue in more details.
The application ID or the API key configured in the settings is invalid. Make sure you copied it correctly. If the error persist, please contact us.
This means that the plugin is not able to create a connection with the TravelTime web service. Please refer to the configuration dialog section about how to disable SSL certificate checking.
If you encounter another issue that is not described above, please report it on the issue tracker.
Include as much information as possible, such as what steps exactly triggered the issue, the error message or unexpected behaviour, a copy of the message log (view > panels > Log messages under the TravelTime tab).
By doing so, we’ll be able to fix the issue and you will be notified.
For anything else, including to request higher API limit, please visit https://www.traveltime.com/contact-us
